Creative · All levels
Sculpt clay flowers, faces and finished decor with confidence
A self-paced programme that takes you from first clay shapes to detailed, bake-ready pieces — with clear lessons, files and practice at every step.
- 38 self-paced video lessons
- 290+ minutes of video
- 35+ downloadable files
- 15 practice assignments
- Lifetime access
- 14-day money-back guarantee
Why clay projects stall before they look finished
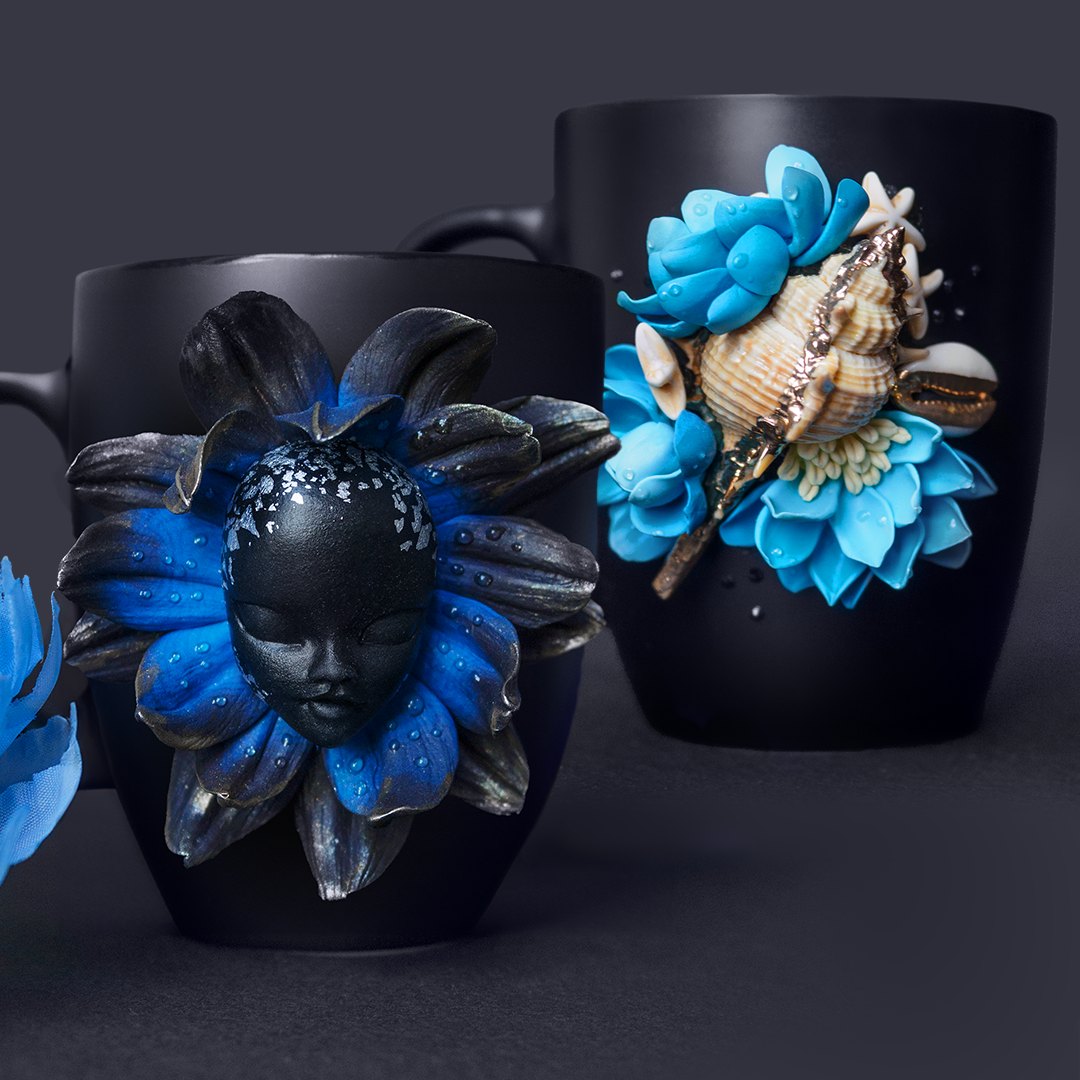
You have seen delicate clay flowers, expressive faces and beautifully decorated mugs, and you want to make your own. But when you sit down with clay, the first attempts often look lumpy, the petals droop, the colors turn muddy, or the piece cracks in the oven. It is not a lack of talent. It is a lack of a clear order of work.
Most beginners try to copy a finished design before they understand the shapes underneath it. They mix too many colors at once, attach decoration without testing the join, or bake a piece before it is fully smoothed. The result is frustration, wasted clay and a drawer full of half-finished experiments.
This course was built to remove that guesswork. It starts with the material itself — which clay to choose, how to condition it, which tools actually matter — and then moves through the core skills in the order you need them. You learn to build simple forms first, then add color, then sculpt flowers and faces, and finally bake, assemble and finish a piece that holds together.
The programme is recorded and self-paced, so you can pause on a close-up, rewind a hand movement and repeat an exercise until it feels natural. With 38 lessons, 290+ minutes of video, 35+ files and 15 assignments, it gives you a structured path from your first clay shape to advanced decorative work.
What you will be able to do
By the end of the programme, you will have a repeatable process for planning, sculpting and finishing clay decor.
- Choose the right clay and tools for your budget
Understand soft, medium and firm clays, basic tool kits and safe substitutes you can start with.
- Build a stable base for mugs and flat pieces
Prepare surfaces and attach clay so your decoration stays in place through handling and baking.
- Mix clean color palettes and gradients
Use color chips and simple recipes to avoid muddy blends and create intentional contrasts.
- Sculpt petals, leaves and flower centers
Work from flower anatomy rather than one fixed model, so you can translate new blooms into clay.
- Shape stylized faces and feminine figures
Build brow, nose, cheek and lip planes step by step, then refine the expression.
- Bake pieces without cracks or scorched edges
Follow brand-aware baking schedules and learn how to prevent common oven problems.
- Apply dew drops and secure delicate decoration
Test three dew-drop effects and choose the right glue for small, fragile elements.
- Complete a finished mug or decor piece
Move from reference and composition to assembly, cleaning and presentation.
- 38
- video lessons
- 290+
- minutes of instruction
- 35+
- downloadable files
- 15
- practice assignments
The build-up method: simple shapes first, detail second
Every strong clay design is built in layers. The course teaches you to see those layers: the base form, the supporting shape, the main volume, the secondary details and only then the surface texture. When you work in that order, the piece stays stable and the detail has something solid to sit on.
A signature exercise is the petal build-up. You start with a simple teardrop, flatten and curve it, test how it joins to a center, and only then add a second and third petal. The same logic applies to faces: the brow, nose and cheek planes come before the lips and eyes. This is why the lessons move from broad shapes to fine work.
The method is not about copying one finished design. It gives you a way to plan your own piece, choose the right level of detail and stop before the clay becomes overworked.
- Plan a piece from large shapes to small details
- Test joins before adding fragile decoration
- Keep color and composition intentional
- Refine surfaces before baking
How the course works
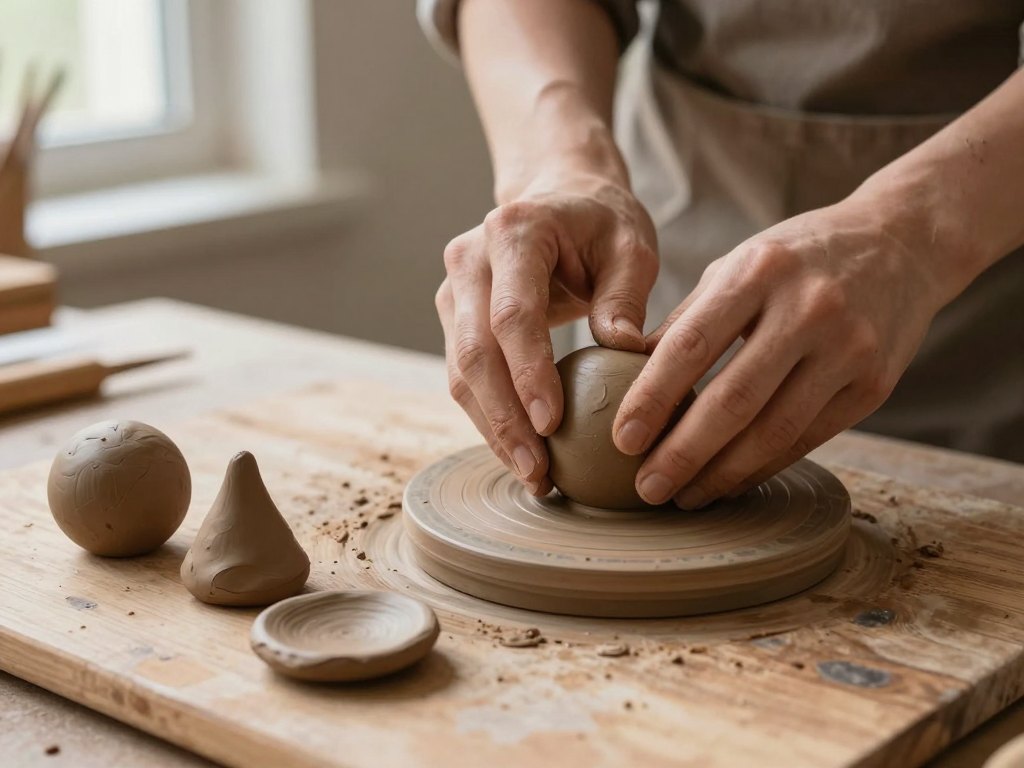
The programme is delivered as recorded video lessons with downloadable support files. You watch a demonstration, pause when you need to, and repeat the step with your own clay. The close-up framing is designed to show hand position, pressure and the small adjustments that are hard to explain in text.
Each module ends with practice assignments. There are 15 assignments across the course, from conditioning clay and mixing color chips to sculpting a small floral cluster and finishing a decorated piece. The files include checklists, reference sheets and assignment prompts so you can review your own work against clear criteria.
You can work at your own pace and return to any lesson whenever you need it. The course is not tied to a live schedule, and the material stays available to you after purchase. Plan for a few focused sessions per week if you want steady progress, or work in longer blocks when you have more time.
The programme
Seven modules take you from material basics to finished decorative work. Each module includes demonstrations, files and a practice assignment.
1Module 1 — Clay, tools and a workspace that worksSet up your materials and learn how clay behaves before you sculpt.5 lessons · 35 min
- Choosing polymer clay: soft, medium and firm brands
- The starter tool kit and safe substitutes
- Preparing your surface, hands and workspace
- Conditioning clay without bubbles or stickiness
- Storing clay and keeping leftovers workable
2Module 2 — Core sculpting techniquesBuild the fundamental hand skills that every later module depends on.5 lessons · 40 min
- Rolling, pinching and shaping even slabs
- Building a stable base for mugs and flat pieces
- Attaching clay so seams disappear
- Carving, smoothing and refining edges
- Rescuing a piece when the shape starts to drift
3Module 3 — Composition and color that look intentionalPlan a design and mix palettes that support it instead of fighting it.6 lessons · 45 min
- Reading a reference and planning a composition
- Color wheels for clay: mixing clean secondaries
- Warm and cool palettes for floral designs
- Contrast, repetition and focal points
- Testing color chips before you commit
- A simple recipe for balanced decorative layouts
4Module 4 — Gradients and blended colorCreate smooth transitions and use them in petals, leaves and decorative panels.5 lessons · 40 min
- The basic two-color gradient
- Multi-color gradients without muddy transitions
- Gradient petals and leaves
- Using a skinner blade and rolled sheets
- Fixing streaks, tears and uneven blends
5Module 5 — Flowers and botanical formsLearn flower structure so you can sculpt new blooms without a mold.6 lessons · 50 min
- Flower anatomy for sculptors: petals, centers and leaves
- Sculpting a simple five-petal flower
- Layered roses and open blooms
- Leaves with veins, curves and natural movement
- Building a small floral cluster
- Translating a real flower into clay without a mold
6Module 6 — Faces and feminine figuresBuild stylized faces from planes and proportions, then refine the expression.6 lessons · 50 min
- Proportions of a stylized face
- Shaping the brow, nose and cheek planes
- Lips, eyes and a calm expression
- Hair as a supporting sculptural shape
- Building a small bust or cameo
- Refining a face after baking and before assembly
7Module 7 — Baking, dew drops, gluing and finishingFinish your piece safely and add delicate effects that survive handling.5 lessons · 35 min
- Baking schedules for different clay brands
- Preventing cracks, bubbles and scorched edges
- Three ways to make realistic dew drops
- Choosing and applying glue for delicate decoration
- Final inspection, cleaning and presenting your piece
What you get
Everything is delivered in one self-paced course area, ready to use alongside your own clay practice.
- 38 self-paced video lessons
Close-up demonstrations you can pause, rewind and repeat.
- 290+ minutes of instruction
A complete path from material basics to advanced decorative work.
- 35+ downloadable files
Checklists, reference sheets and assignment prompts.
- 15 practice assignments
Structured exercises that turn each module into a finished skill.
- Material and tool checklists
Know what to buy, what to substitute and what to skip at the start.
- Color mixing and composition worksheets
Plan palettes and layouts before you commit clay.
- Baking and assembly guides
Reference schedules and finishing steps for different clay brands.
- Lifetime access to the course materials
Return to any lesson whenever you need a refresher.
- 14-day money-back guarantee
Try the course and request a refund within 14 days if it is not for you.
Is this course for you?
This course is for you if…
- Complete beginners who want a clear first path into clay sculpting
- Hobby makers who already work with polymer clay and want stronger structure
- Crafters who want to sculpt flowers, faces and decorative details for mugs and small objects
- Self-paced learners who prefer recorded lessons and downloadable references
- People who want a repeatable method rather than one project to copy
Probably not a fit if…
- Anyone looking for live coaching, personal critique or scheduled group calls
- People who want instant results without practicing between lessons
- Professional ceramicists looking for wheel-throwing or glaze chemistry
- Makers who do not want to bake polymer clay or work with small hand tools
After the course
You will have a working process you can return to. When you see a flower you want to sculpt, you will know how to break it into petals, centers and leaves. When you plan a decorated mug, you will have a way to choose a palette, test the layout and build the detail in an order that holds together.
Your finished pieces will look more deliberate: cleaner joins, smoother surfaces, stronger color choices and decoration that survives baking and handling. You will also know how to diagnose common problems — a cracked edge, a muddy gradient, a drooping petal — and adjust before the piece is ruined.
Most importantly, you will stop waiting for the perfect reference. The course teaches a method for translating your own ideas into clay, so you can keep making new designs after the final lesson.
Questions before you start
How much time do I need each week?
Most learners work through one module per week, which takes roughly 2–4 hours including practice. You can go faster or slower because the course is self-paced.
Do I need previous sculpting experience?
No. The course starts with clay, tools and conditioning, then builds up through core shapes. If you already sculpt, you can move quickly through the early lessons and focus on the advanced modules.
How do I get access after payment?
After payment you receive access to the course area, where all video lessons and downloadable files are organized by module. You can start with Module 1 immediately.
What format are the lessons in?
The lessons are recorded video demonstrations with downloadable support files. You can pause, rewind and repeat any step at your own pace.
Does the material stay available?
Yes. You get lifetime access to the course materials, so you can return to any lesson or file whenever you need it.
What materials and tools will I need?
You will need polymer clay, a small set of sculpting tools, a work surface and an oven suitable for baking polymer clay. The course includes a starter checklist and safe substitutes for the first projects.
Are the assignments checked by someone?
The assignments are designed for self-study, with prompts and checklists so you can review your own work against clear criteria. The course does not include live personal critique.
What is the refund policy?
You can request a refund within 14 days of purchase. The course costs €95.00, and the 14-day money-back guarantee lets you try the material with time to decide.
Start your first clay piece this week
Join the self-paced programme and follow a clear path from simple shapes to finished decorative work.