Creative · All levels
Drape, draft and sew garments that fit properly
A self-paced programme in professional draping and exclusive garment construction, from the first muslin mock-up to a finished piece you designed yourself.
- 24 recorded lessons
- 6 structured modules
- Printable drafting worksheets
- Self-paced, lifetime access
- 14-day money-back guarantee
Why a garment that looks right on paper still hangs wrong
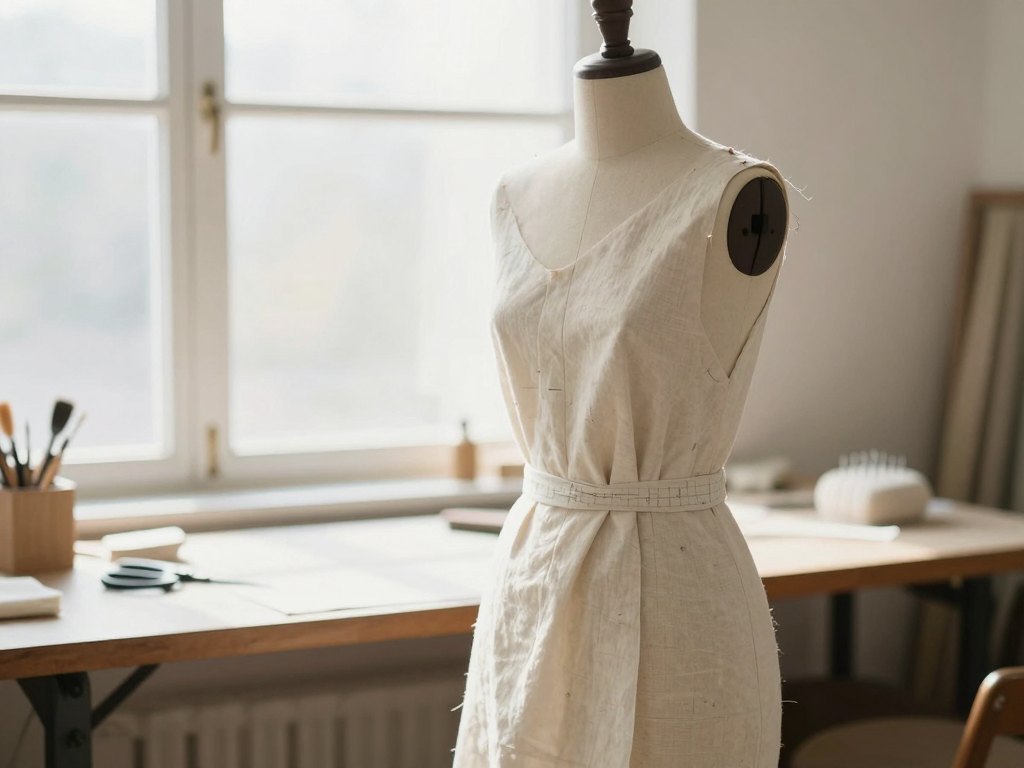
You have followed the pattern, matched the notches and sewn the seams exactly where the instructions put them. Then you try the piece on and something is off: the shoulder pulls, the bust dart points at the wrong place, the back rides up. The pattern was not wrong. It was drafted for a body that is not yours, and no amount of seam ripping fixes a shape that was never designed around a real figure.
Draping solves that problem at its root. Instead of trusting a flat drawing, you pin fabric directly on a mannequin, watch how it falls, and shape it against a three-dimensional form. Only when the volume is right do you transfer it to paper. This is how couture houses have always worked, and it is the method this programme teaches from the first lesson.
The course is built around two skills that belong together: professional mock-up work on the mannequin, and exclusive construction — the ability to turn your own idea into a garment that holds its shape, closes cleanly and survives a real fitting. You will work through bodices, skirts, trousers, dresses, jackets, knitwear, outerwear and close-fitting pieces, adding one construction skill at a time.
Everything is recorded and self-paced. You can pause on a step, rewind a pinning sequence, and repeat a module on your own mannequin before moving on. There is no schedule to keep up with and no live session to miss.
What you will be able to do
By the end of the programme you will have a working method, not a pile of finished patterns.
- Prepare a mannequin for accurate work
Set reference lines, check balance and pad the form so it matches the figure you are designing for.
- Drape a bodice with darts and panel lines
Move and reshape darts on the mannequin without losing fit or distorting the grain.
- Transfer a drape into a flat paper pattern
Mark, true and walk the seams so the paper version reproduces what you built in fabric.
- Draft and fit trousers from measurements
Work the seat and crotch curve until the trousers hang straight and sit without pulling.
- Build a dress with bias, cowl or asymmetric drape
Control a hanging hem and let the fabric do the shaping instead of extra seams.
- Handle knitwear and outerwear with confidence
Set negative ease for jersey and build volume and structure for a coat.
- Construct collars, pockets, vents and closures
Shawl, notched and stand collars, plus the internal details that keep a garment sharp.
- Design an original piece on the mannequin
Take an idea from sketch to toile to a finished, exclusive garment with no commercial pattern.
- Finish to a professional standard
Press, line and clean-finish the inside of a garment so it wears as well as it looks.
- 6
- structured modules
- 24
- recorded lessons
- 6
- garment families covered
- 1
- method, drape to finish
The method: drape first, draft second
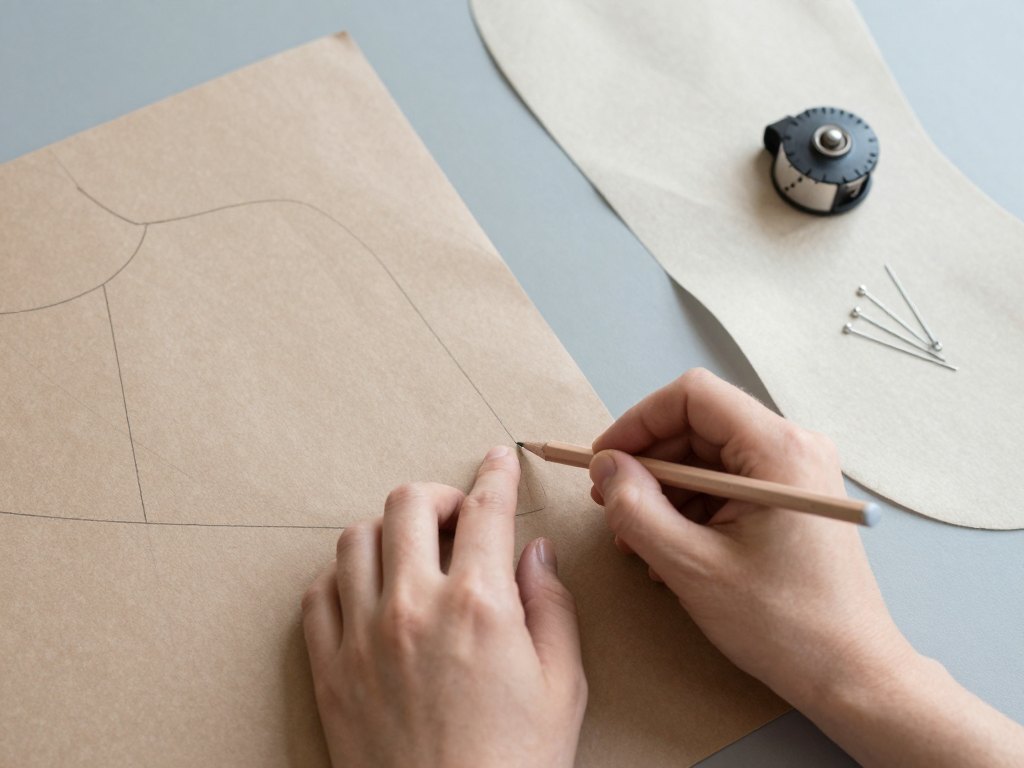
Every module follows the same rhythm. You start on the mannequin with muslin or an inexpensive cloth, pinning and shaping until the volume is right. Then you mark the piece, take it off the form, and true it into a paper pattern you can cut again and again. Finally you sew the garment in your real fabric, with the construction details that make it hold together.
That order matters. When you draft first, you are guessing at a shape and correcting it later. When you drape first, the shape is already proven in three dimensions before a single metre of good fabric is cut. The paper pattern becomes a record of something that worked, not a hope.
The programme also teaches you to read fabric. Grain, weight, drape and stretch change what a design can do, so each module includes guidance on choosing cloth for the piece you are building and on predicting how it will behave once it is on the body.
How the course works
The programme is delivered as recorded video lessons with supporting worksheets. Each lesson shows a single technique from start to finish, filmed at the mannequin so you can see where the pins go and how the fabric is smoothed and released. You follow along at your own pace and pause wherever you need to.
Modules are arranged in a sequence, but nothing locks. If you already draft trousers confidently, you can go straight to the outerwear module. If you are new to draping, start at module one and work through in order — the later constructions assume the reference-line and marking habits built early on.
Alongside the videos you get printable drafting worksheets, a drape-to-paper transfer checklist, a fabric and materials guide and a fitting-correction reference. These are the working documents you will keep on the table next to your machine, not reading material to file away.
The programme
Six modules, twenty-four lessons, one continuous method from the first reference line to the final press.
1Module 1 — Foundations: the mannequin, the tools, the languageSet up your workspace and learn to see a body in three dimensions.4 lessons
- Setting up a mannequin: reference lines, balance and padding
- Muslin, grain and the tools of a draping studio
- Reading a body: posture, asymmetry and proportion
- Your first drape: a simple bodice front and back
2Module 2 — Draping the bodice and its variationsShape the upper body, then move what you built onto paper.4 lessons
- Moving darts on the mannequin without losing fit
- Princess seams and panel lines
- Cowl, gathers and bias drape
- Marking, truing and transferring the drape to paper
3Module 3 — Skirts, trousers and the lower bodyControl a hanging hem and fit the seat and crotch curve.4 lessons
- Draping a straight skirt and an A-line
- Bias skirts and the behaviour of a hanging hem
- Drafting trousers from measurements
- Fitting the seat and the crotch curve
4Module 4 — Dresses, suits and knitwearBuild a full garment and learn how stretch changes the rules.4 lessons
- A fitted dress block built from the drape
- A suit jacket that closes cleanly at the front
- Working with jersey: negative ease and stability
- Linings, interfacings and internal structure
5Module 5 — Outerwear and close-fitting piecesVolume, collars and the details that keep a garment sharp.4 lessons
- Draping a coat with volume and a set-in sleeve
- Collars: shawl, notched and stand
- Pockets, vents and closures that hold their shape
- Close-fitting pieces: soft shaping and elastic finishes
6Module 6 — From original idea to finished garmentDesign your own piece and carry it through to the last press.4 lessons
- Designing on the mannequin: an exclusive piece
- Choosing fabric for the design you drew
- Toiles, fittings and corrections
- Final construction, pressing and finishing
What you get
Everything is delivered digitally and stays with you.
- 24 recorded video lessons
Each technique filmed at the mannequin, from the first pin to the finished seam.
- Printable drafting worksheets
Measurement and draft sheets for bodices, skirts, trousers and sleeves.
- A drape-to-paper transfer checklist
The marking and truing sequence that keeps a paper pattern faithful to the mock-up.
- A fabric and materials guide
How weight, grain and stretch affect what a design can do.
- A fitting-correction reference
The common drag lines and what each one tells you to change.
- Self-paced access
Start when you like, repeat any module, and keep the material available.
- 14-day money-back guarantee
Work through the first modules and decide whether the method suits you.
Built for people who sew alone
Most home sewers learn in isolation, from videos and forum threads, and the gaps show up at the fitting stage. This programme is arranged so that the fitting stage is taught, not assumed. Each construction module ends with the corrections that piece usually needs, so you know what to look for when the garment is on the body.
The lessons also assume a normal home setup: a domestic machine, an iron, a mannequin and a table large enough to lay out cloth. No industrial equipment is required, and the worksheets list what each module needs before you begin so you can prepare in advance.
If you sell or plan to sell what you make, the exclusive-construction module is the one to study closely. It covers the internal work — interfacing, lining, clean finishing — that separates a garment someone will pay for from one that only looks good on a hanger.
Is this course for you?
This course is for you if…
- Home sewers who can follow a pattern but want garments that fit a real body
- Dressmakers and small atelier sewers who want to work from a mannequin rather than a commercial block
- Designers who sketch well but need a reliable route from idea to a wearable toile
- Anyone who wants to understand construction details — collars, linings, vents — properly
- Sewers returning after a break who want a structured method to work through
Probably not a fit if…
- Complete beginners who have never used a sewing machine — basic stitching is assumed
- People looking for a library of ready-made print patterns to cut out and sew unchanged
- Anyone who wants live teaching, personal fittings or one-to-one feedback on their work
- Sewers who only want quick projects and are not interested in drafting or mock-ups
After the course
You will have a mannequin set up to your own reference system, a set of paper blocks you drafted and trued yourself, and a working habit: drape the idea, prove it in muslin, transfer it, then cut the good fabric. That habit is what makes the difference between sewing occasionally and being able to make what you imagine.
In practice, that means you can take a photograph, a sketch or a garment you already own and turn it into something that fits. You can look at a piece on the body and name the correction it needs instead of guessing. You can build a jacket that closes without a gap, a bias dress that hangs evenly, and a coat whose collar sits flat at the back of the neck.
The last module leaves you with a finished garment you designed on the mannequin yourself — an exclusive piece, with no commercial pattern behind it — and the construction notes to make it again in another fabric.
Questions before you buy
How much time do I need each week?
Most people work through one lesson in a sitting of 30 to 60 minutes, then spend a further hour or two practising the technique on their own mannequin. There is no fixed schedule, so you can move faster or slower depending on how much sewing time you have.
Do I need previous sewing experience?
Yes, some. You should be comfortable threading a machine, sewing a straight seam and pressing as you go. The programme assumes that baseline and starts from the mannequin, not from how to use a sewing machine.
What equipment do I need?
A domestic sewing machine, an iron and ironing board, a dress form you can pin into, a long ruler, a curved ruler, tracing paper or pattern paper, pins, tape and muslin or an inexpensive cloth for mock-ups. Each module lists its materials before the lessons begin.
How do I get access after payment?
Access is delivered digitally. Once your order is confirmed you receive the details for opening the programme, and the lessons and worksheets are available from your account straight away.
What format are the lessons in?
Recorded video lessons filmed at the mannequin, supported by printable worksheets, checklists and reference sheets. There are no live sessions and nothing is scheduled, so you watch and practise whenever it suits you.
How long does the material stay available?
The material stays available to you after purchase, including later corrections to the worksheets. You can return to a module months later when you are building a similar garment.
Is there a refund policy?
Yes. You have 14 days from purchase to request a refund. If the programme is not what you expected, contact support within that window and the order is refunded.
Does the course cover plus sizes and irregular figures?
The draping method is built around a real three-dimensional form, so it adapts to different figures. Module 1 covers padding and adjusting a mannequin to match the body you are designing for, including asymmetry and posture differences.
Can I sell garments I make with this method?
Yes. The patterns you draft and the garments you sew are yours. The programme teaches a method and does not license designs, so what you make from it is your own work.
Start with the first mock-up
Twenty-four recorded lessons, six modules and a method you will use on every garment after this one.