Fitness · Intermediate
Assess movement properly and design programmes that hold up
A self-paced programme for trainers who want to work with the causes of movement limitations, not only with the exercises.
- 27 recorded lessons
- 6 structured modules
- Assessment worksheets included
- Self-paced, lifetime access
- 14-day money-back guarantee
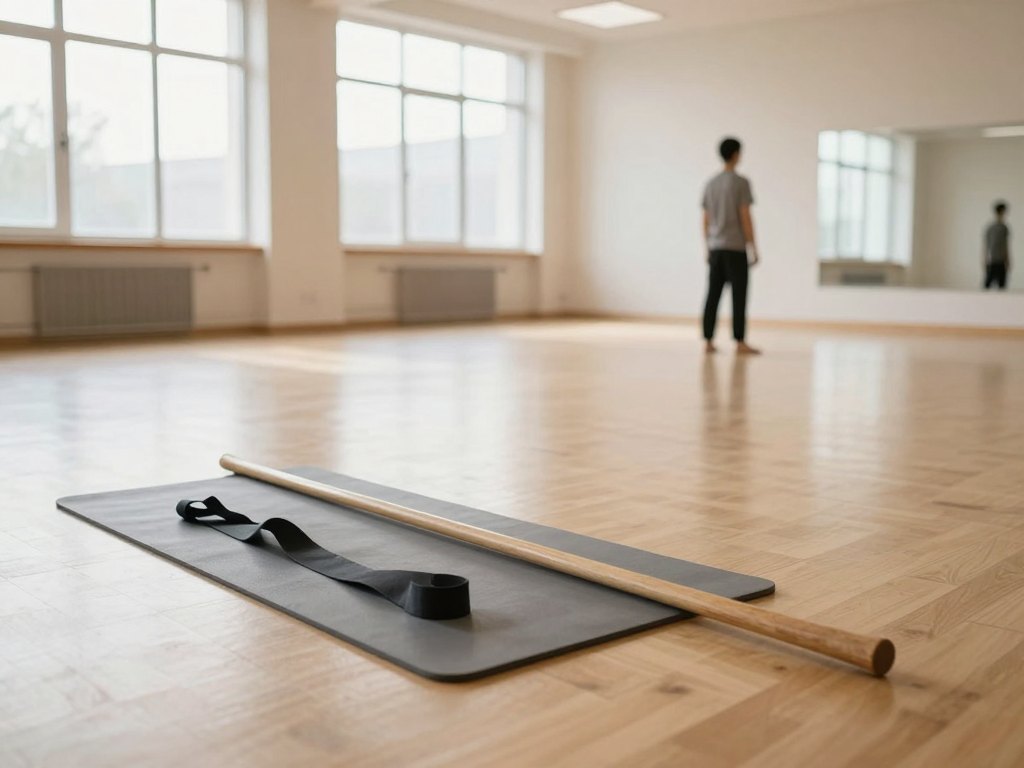
Why so many training plans miss the cause
A client arrives with a list of complaints: the knees ache after squats, one shoulder sits higher than the other, the hips feel locked in the morning. The usual response is to swap the exercise, add a stretch and move on. The session continues, the symptom returns, and neither of you knows why.
Most trainers learn exercises long before they learn to look at movement. They can cue a hinge and count reps, but they have no structured way to see what the body is actually doing — where range is lost, which side compensates, whether the limitation sits in a joint or in the way the client controls it.
This programme closes that gap. It teaches a repeatable assessment routine you can run inside a normal session, a way to interpret what you see, and a method for turning those findings into a training plan with a clear purpose.
Nothing here replaces the exercises you already coach. It changes the reasoning behind them: instead of choosing movements by habit or by what worked for the last client, you choose them from evidence you collected yourself.
What you will be able to do
By the end of the programme you will have a working assessment routine and a planning method you can use with every new client.
- Run a structured posture screen
Observe a client from four views and record findings in a consistent, comparable way.
- Test joint mobility joint by joint
Assess ankle, hip, thoracic spine and shoulder range with simple, repeatable tests.
- Separate a restriction from a control problem
Distinguish what the body cannot do from what it does not yet control.
- Build a client movement profile
Turn scattered observations into a short list of priorities worth training.
- Design a programme around the findings
Choose exercises, order and volume that address the limitation you identified.
- Regress and progress exercises safely
Adapt any movement to the range and control a client has today.
- Recognise when to refer on
Know where a trainer's scope ends and a medical professional's begins.
- Re-test and document change
Use the same protocol to show progress and adjust the plan.
- Explain findings in plain language
Justify your programme choices in a way that builds trust and adherence.
- 27
- recorded lessons
- 6
- structured modules
- 12
- practical assignments
- Lifetime
- access to materials
How the course works
The programme is delivered as recorded video lessons grouped into six modules. You watch them in order, at your own pace, and you can return to any lesson as often as you need. There is no fixed schedule and no live attendance requirement.
Each module ends with a practical assignment. You run the protocol on yourself or on a willing training partner, film it if you can, and fill in the worksheet that comes with the lesson. The assignment is where the material becomes a skill — watching an assessment is not the same as performing one.
Every module includes printable materials: assessment worksheets, testing cards, a client profile template and a programme planning sheet. The course is built for working trainers, so most people spread it over four to six weeks, watching one or two lessons at a time and completing the assignment before moving on.

The programme
Six modules that move from observation, through testing and interpretation, to programme design and re-testing.
1Module 1 — Movement, posture and the trainer's scopeWhat an assessment can tell you, and what it cannot.4 lessons
- What a movement screen can and cannot tell you
- Posture as a snapshot, not a diagnosis
- Anatomy you will actually use in an assessment
- Where a trainer's scope ends and a referral begins
2Module 2 — Posture assessment in practiceA four-view standing screen you can run in five minutes.5 lessons
- Setting up: space, light and camera position
- The four-view standing assessment
- Reading the pelvis and the ribcage
- Head, shoulders and the upper back
- Recording findings on the posture worksheet
3Module 3 — Joint mobility testingSimple, repeatable tests for the joints that limit most clients.5 lessons
- Ankle range and its effect on the squat
- Hip rotation, flexion and extension tests
- Thoracic spine rotation and extension
- Shoulder flexion, rotation and overhead reach
- Scoring results and comparing left with right
4Module 4 — From findings to a movement profileTurning a page of observations into two or three priorities.4 lessons
- Separating a joint restriction from a control problem
- Choosing the two or three priorities that matter
- Linking assessment results to the client's goal
- Writing a profile the client understands
5Module 5 — Designing the programmeExercise choice, order and progression built on the assessment.5 lessons
- Choosing the main lift and its variation
- Ordering a session around the priority
- Sets, reps and tempo when range is limited
- Corrective work that fits inside the session
- Building a four-week block and a progression rule
6Module 6 — Injury prevention, re-testing and communicationManaging load, checking progress and explaining your choices.4 lessons
- Load management across the training week
- Warm-ups and preparation that match the session
- Re-testing: when to repeat a test and what to compare
- Explaining your programme to a client
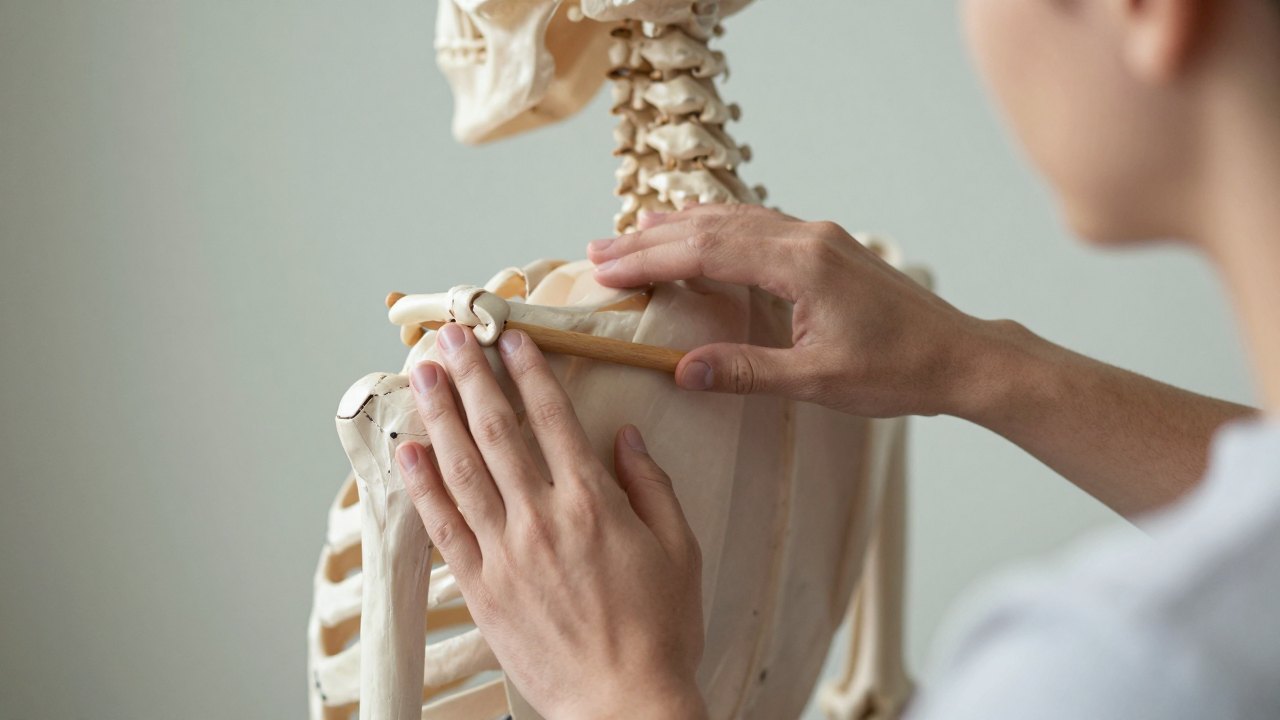
What you get
Everything is delivered digitally and stays with you after purchase.
- 27 recorded video lessons
Six modules covering assessment, interpretation and programme design.
- Posture assessment worksheet
A printable form for the four-view standing screen.
- Joint mobility testing cards
One card per test with setup, cue and scoring notes.
- Client movement profile template
A one-page summary you can fill in after every assessment.
- Four-week programme planner
A planning sheet that links each exercise to a finding.
- Twelve practical assignments
One task per topic, with self-check criteria so you know when it is done.
- Lifetime access and updates
Return to the lessons whenever you need them, including future revisions.
The assessment routine you will practise
The method follows a fixed order: observe, test, interpret, plan. Observation comes first because it is free and immediate — how the client stands, where weight sits, which shoulder drops. Testing follows only where observation raised a question, so the screen stays short enough to use in a real session.
Interpretation is the part most trainers skip. A limited overhead reach can come from the shoulder, the thoracic spine or the way the ribcage is held. The course teaches you to test the neighbouring joints before you decide, and to check whether the client can control the range they do have.
Planning then follows from a written profile, not from memory. You will practise choosing one main lift, one or two supporting movements and a simple progression rule, so that the programme has a stated purpose you can explain to the client and check again in four weeks.
Is this course for you?
This course is for you if…
- Personal trainers who already coach sessions and want a repeatable assessment routine
- Group instructors who need to adapt exercises to very different bodies in the same room
- Trainers returning to work after a break and wanting a structured refresher on programme design
- Coaches whose clients plateau or keep returning to the same complaint
- Specialists preparing for a role that expects planning, not only exercise demonstration
Probably not a fit if…
- Complete beginners with no experience of coaching or of basic training technique
- Anyone looking for a medical diagnosis, a treatment plan or a rehabilitation protocol
- People who want a library of ready-made workouts to copy without assessing anyone
- Those who expect live supervision or one-to-one mentoring — this is a self-paced recorded programme
After the course
The first session with a new client looks different. You spend part of it observing and testing, you write down what you found, and you leave with two or three priorities instead of a general impression. The programme you build in the second session has a reason behind every exercise.
You also gain a language for explaining it. When a client asks why the overhead press has been replaced by a floor variation for four weeks, you can point to the test, the result and the plan to re-test — which is usually enough to keep them training.
The course gives you a method, not a guarantee. How much you get from it depends on how many assessments you actually run. The assignments are designed so that the practice happens during the course rather than after it.
Questions before you buy
How much time do I need each week?
Most people spread the programme over four to six weeks, watching one or two lessons at a time and completing the assignment at the end of each module. A realistic commitment is a few hours a week, including the practice session where you run the protocol on yourself or a training partner.
Do I need a qualification before starting?
There are no formal prerequisites. You should be comfortable coaching basic exercises and working with clients or training partners, because the assignments ask you to run assessments and record what you see. The material assumes some familiarity with training terminology.
How do I get access after payment?
Access is created automatically once the payment is confirmed. You receive an email with your login details and a link to the course, and the lessons are available immediately — there is no waiting list or start date.
What if the course is not for me?
You have 14 days from purchase to request a refund. Write to support within that period and the payment is returned; you do not need to justify the decision. After 14 days the sale is final.
What format are the lessons in?
The lessons are recorded videos with printable worksheets, testing cards and templates attached to the relevant modules. There are no live sessions and no scheduled calls, so you can pause, rewind and repeat any part of the material.
How long do I keep the material?
Access does not expire. The lessons, worksheets and templates remain available in your account, including any later revisions of the material, so you can return to a module when a new client presents something unfamiliar.
Do I need equipment or a client to practise on?
A mat, a wall, a chair and a phone for filming are enough. A training partner makes the assignments more realistic, but every test can also be run on yourself, and the worksheets are designed to work either way.
Is this a rehabilitation or medical course?
No. It is a fitness course about assessing movement and designing training. It teaches you to recognise findings that fall outside a trainer's scope and to refer those clients to a medical professional rather than working on them yourself.
Can I use this with clients who have old injuries?
You can use the assessment and planning method with any client who has been cleared to train. The course shows how to work within the range and control a client has today, and where to stop and coordinate with the professional who is handling their case.
Start assessing movement properly
Six modules, 27 recorded lessons and the worksheets you need to run your first structured assessment this week.